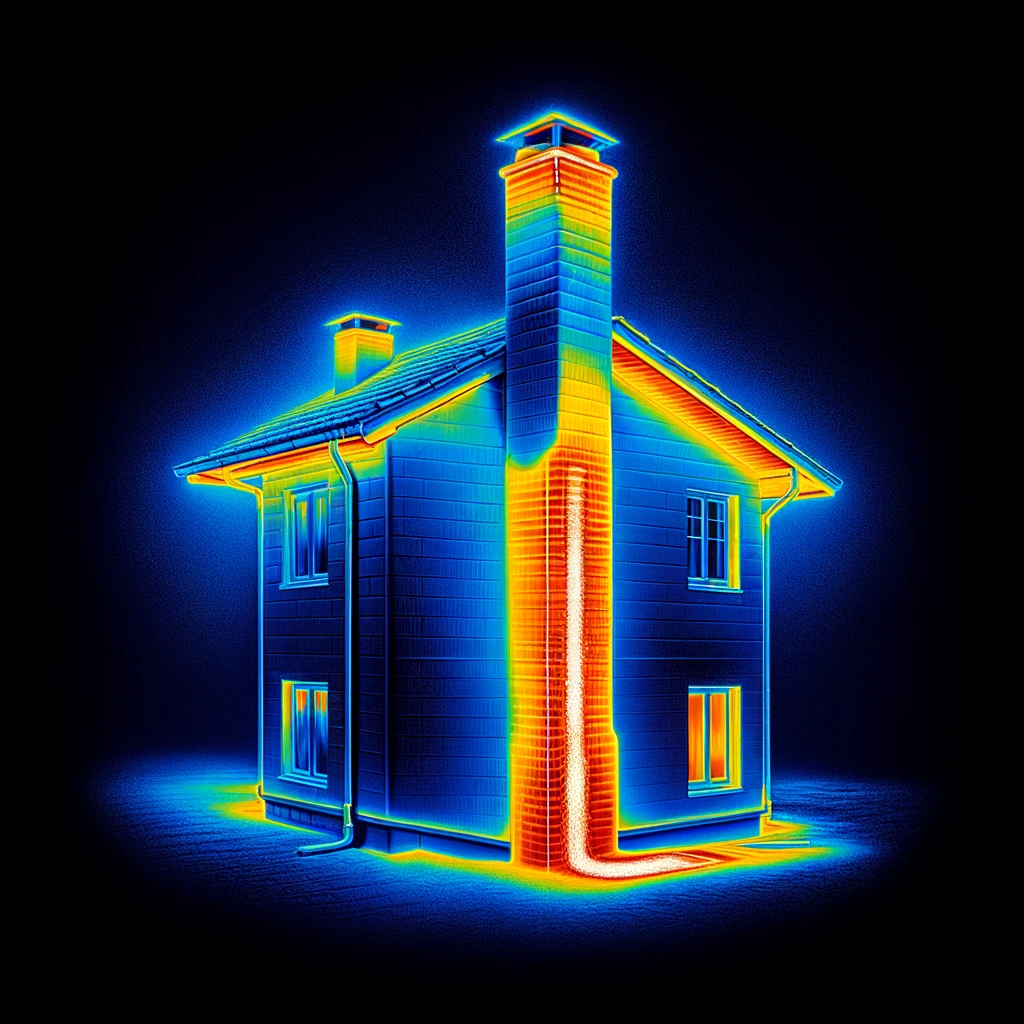
A Thermal Imaging Home Inspection is a service offered by Home Inspectors in the United States to assess residential properties for potential water leaks and other issues. This inspection utilizes a thermal imaging camera, which can detect variations in temperature and display them as different colors.
The process of an Infrared Thermography Inspection typically involves the following steps:
- The Home Inspector uses a thermal imaging camera to scan the interior and exterior surfaces of the property, including walls, ceilings, floors, and other accessible areas.
- The camera captures thermal images and represents them using different colors based on the temperature differences it detects. Warm areas are displayed as white and red, while cooler areas appear as yellowish and blue.
- Since water and moisture tend to absorb heat energy and appear cooler, the thermal imaging camera helps identify potential water leaks or areas with moisture issues.
- After completing the inspection, the home inspector reviews the thermal images with the buyer or seller and highlights any areas of concern that may require further investigation.
In essence, a Thermal Imaging Home Inspection uses advanced technology to identify potential problems related to water leaks and temperature variations within a property, providing valuable information to both buyers and sellers.
How Thermal Imaging Adds Value to Home Inspections
The process involves scanning the property with a thermal camera, transforming the detected heat signatures into a color-coded image. These colors help inspectors pinpoint areas that may need further evaluation.
Once the inspection is complete, inspectors review the thermal images with clients, highlighting areas of concern. This technique adds a layer of depth to the inspection, uncovering issues not visible to the naked eye.
Distinguishing Infrared from Traditional Inspections
A standard home inspection is a visual assessment covering various aspects like electrical systems, plumbing, roofing, and more. However, it typically doesn’t include thermal imaging.
Thermal imaging, as an advanced service, either complements a regular inspection or stands alone. It excels in revealing potential issues invisible in a standard inspection, offering a more in-depth analysis.
Top 3 Benefits of Thermal Imaging in Home Inspections
- Early Detection of Water Leaks: Thermal imaging can spot early signs of water leaks, preventing extensive damage.
- Non-Intrusive Method: This technique requires no wall openings or other invasive actions, preserving the property’s integrity.
- Efficiency and Convenience: Thermal inspections are quick and non-disruptive, ideal for busy homeowners and real estate transactions.
Essential Devices in Thermal Home Inspections
- Thermal Imaging Camera: This is the primary tool, translating thermal energy into visible images. There are two types: uncooled (less expensive, versatile) and cooled (more sensitive, higher quality images).
- Spot Radiometer: This complements the thermal camera by providing precise temperature readings of specific areas, confirming potential issues identified during the inspection.
- Thermal Line Scanner: It measures radiant temperature along a line, producing a thermogram that helps in quickly identifying insulation issues or thermal anomalies.
Thermal Home Inspection Temperature Simulator
Here we present our Thermal Temperature Home Inspection Simulator. Please hover your mouse over the image to examine the various temperature variations displayed through different colors in this exterior home inspection. Pay close attention to significant temperature differences that might suggest energy leakage issues.

The Typical Sources Of Leaks Detected By A Thermal Home Inspection
This guide aims to enlighten you about the typical sources of thermal leaks, some of which you can detect on your own and others that might require a professional energy audit.
1. Windows: A Prime Suspect in Energy Loss
Windows, especially in older homes, are notorious for air leakage. They may be charming but can be inefficient. Check for drafts and window condensation to gauge if they’re contributing to high energy bills. Here’s how you can improve their efficiency:

- Use blinds or drapes to control sunlight and temperature.
- Seal gaps with caulking or weatherstripping.
- Install sun-blocking films or opt for energy-efficient windows. Remember, windows and doors can be responsible for up to a third of your home’s energy leaks.
2. Doors
Doors are significant openings in your home and should fit well to minimize air flow. Inspect them visually and check for drafts. To enhance door efficiency:
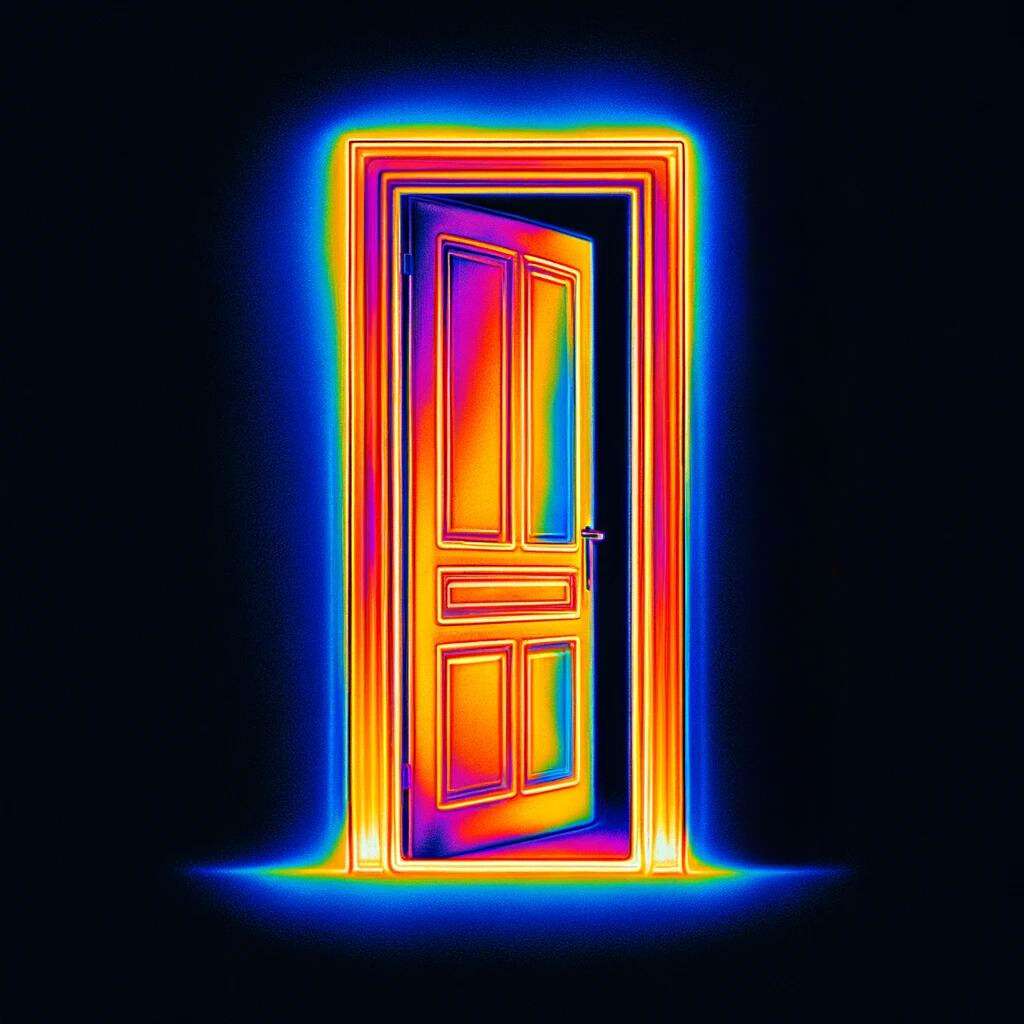
- Caulk openings and install weatherstripping or gaskets.
- Consider door snakes for draft stopping.
- Upgrade to energy-efficient doors, also considering aesthetic and security enhancements.
Walls are less obvious thermal leak sources, and detecting issues here might require knowledge of your home’s construction or a professional audit. Key factors include:
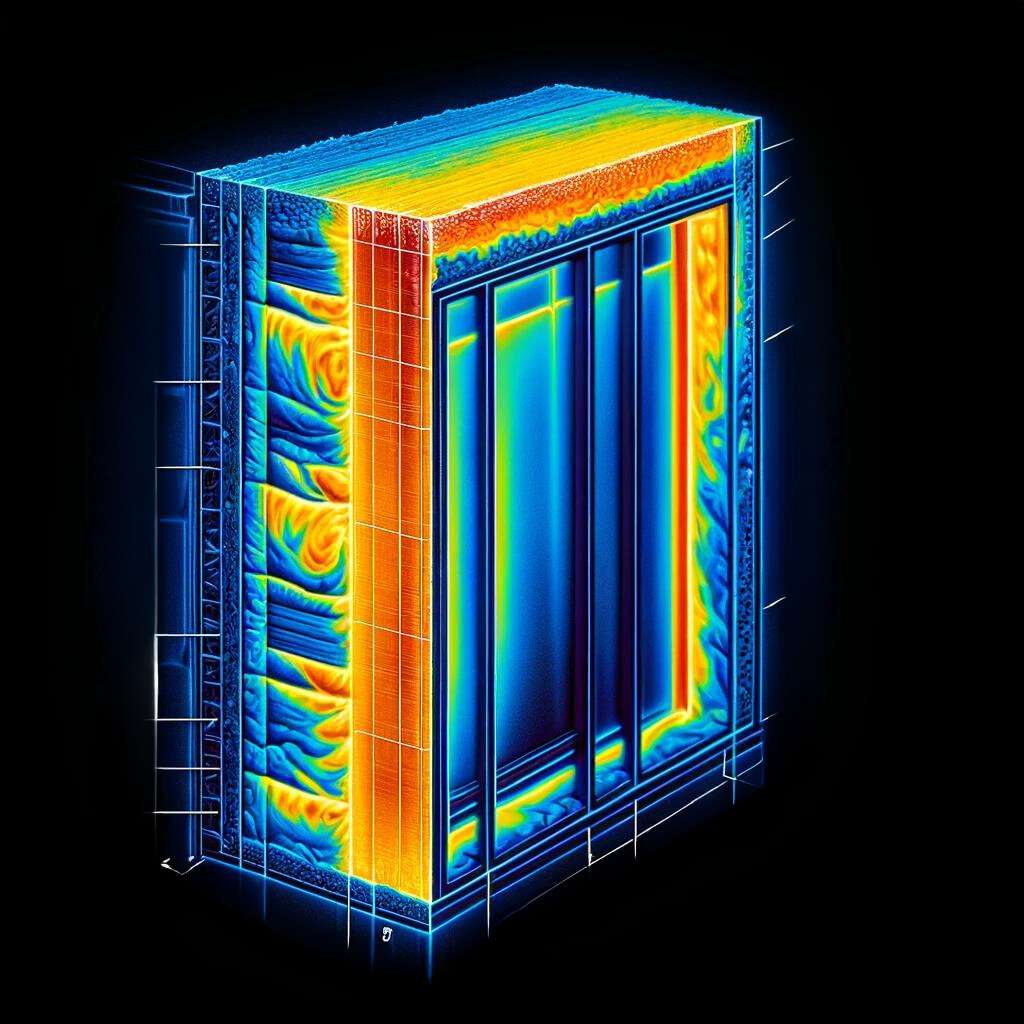
- Insulation level: Check this via electrical outlets (turn off power first!).
- Thermal bridging: This involves the wooden framing within walls, which conducts heat more than insulation does. Consider a thermal imaging report for detailed insights.
4. Electrical Outlets: Small but Significant
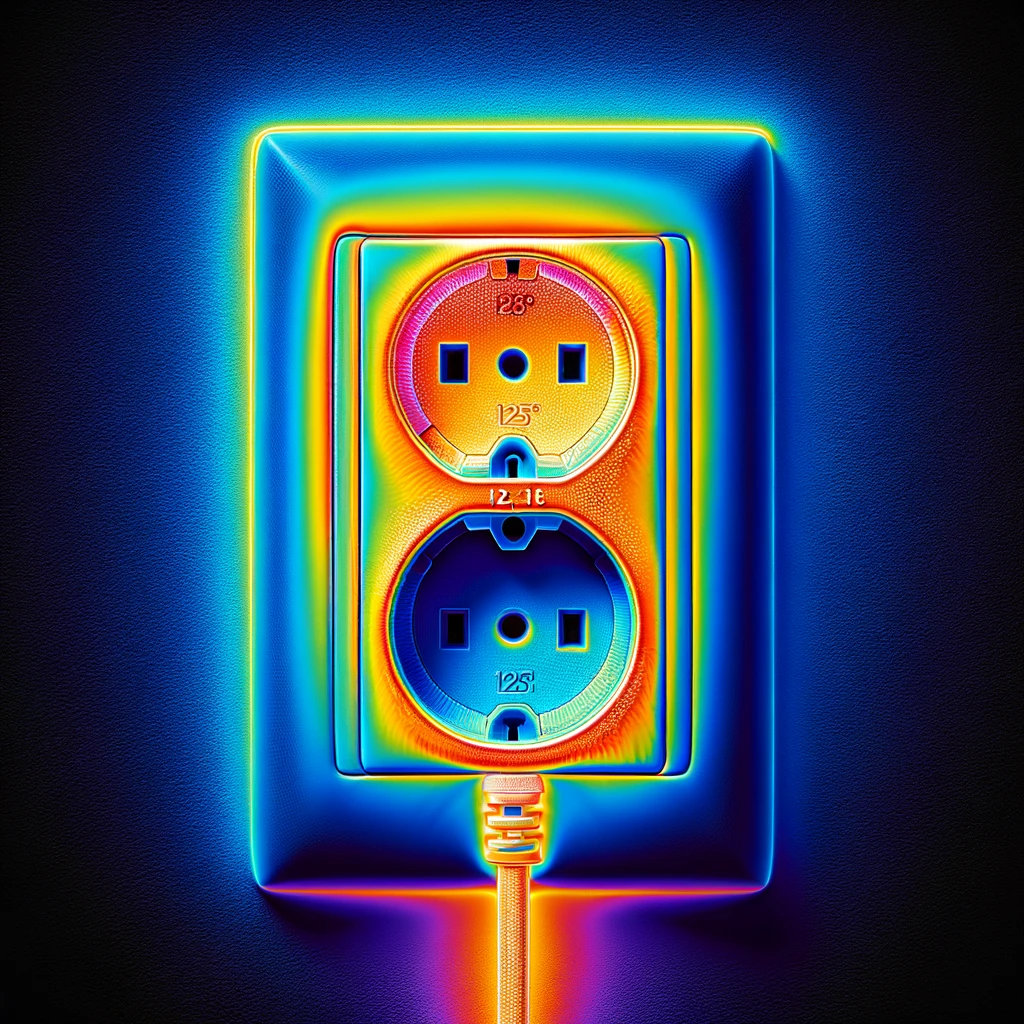
The cumulative effect of gaps around electrical outlets can be substantial. Sealing these gaps with caulk or foam is straightforward. Remember to use intumescent materials for fire safety and never seal inside the electrical box itself.
5. Chimneys: Open to the Elements

An open chimney can significantly impact room temperature. A chimney balloon, professionally installed or DIY, can effectively block air flow.
6. Air Ducts: Essential for Efficient Heating and Cooling
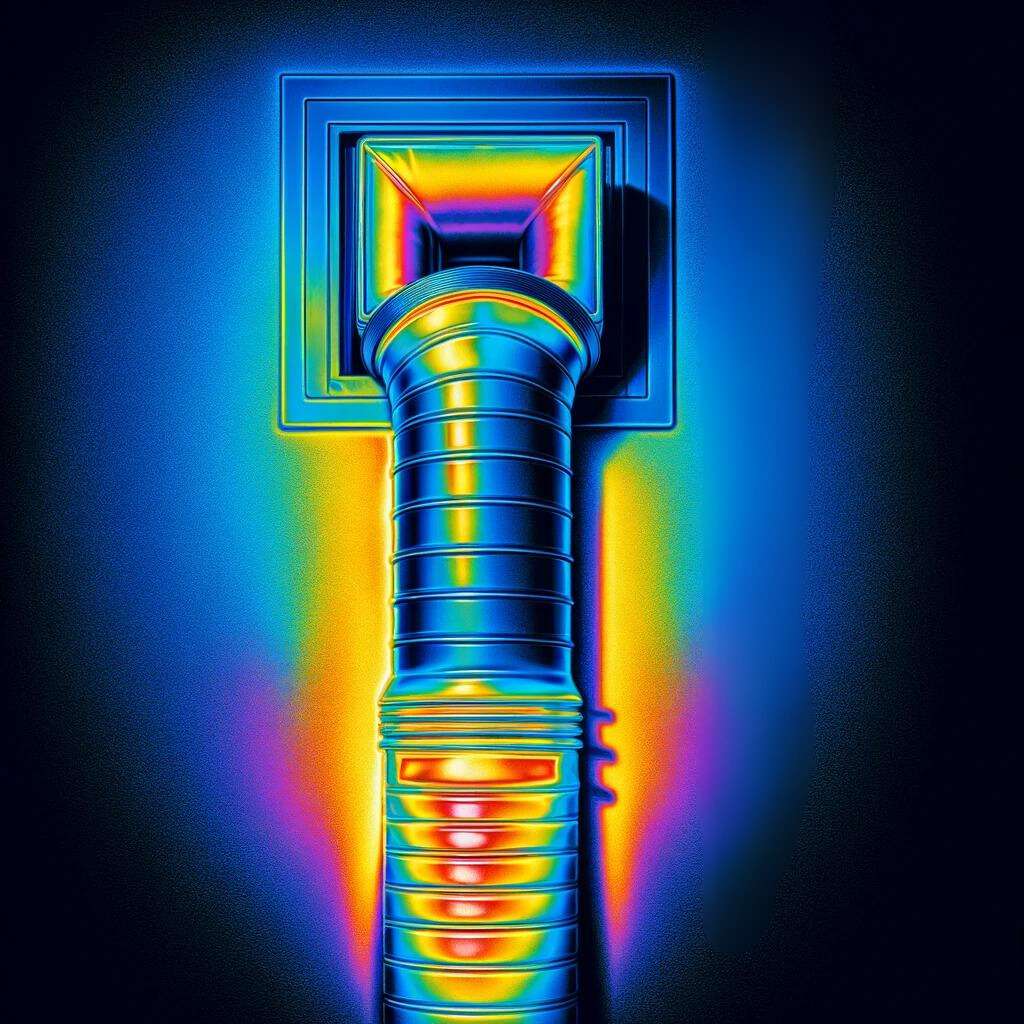
Ensure that your air ducts are secure, sealed, and well-insulated. This might involve professional help for hard-to-reach areas. Use duct sealant or foil tape for leaks, and avoid using duct tape, which is not suitable for this purpose.
7. Attic Ventilation: Balancing Air Exchange
Proper attic ventilation is necessary to prevent heat buildup or ice dams. This involves a combination of insulation baffles and attic floor insulation.
8. Insulation: A Critical Component
Evaluate your home’s insulation, especially in the attic and basement. Consider an energy audit with infrared thermography for a comprehensive assessment. Various insulation types have different lifespans, moisture resistance, and maintenance needs.
Upload and Analyze The Temperature Of Your Own Thermal Image
Temperature Reading Clarification:
Please note that the temperature readings provided by this tool are based on color interpretation from a thermal image and are therefore approximate. While we strive to provide a useful approximation, these readings should not be relied upon for precise temperature measurements or critical decision-making. The tool does not account for the specific calibration of the thermal imaging device used to capture the image, and factors such as color palette variations, image quality, and environmental conditions can affect the accuracy of the temperature readings.
For accurate temperature assessments, especially in professional or critical applications, please use calibrated thermal imaging devices and refer to the temperature data provided by the device’s own software or a certified thermal analyst.
