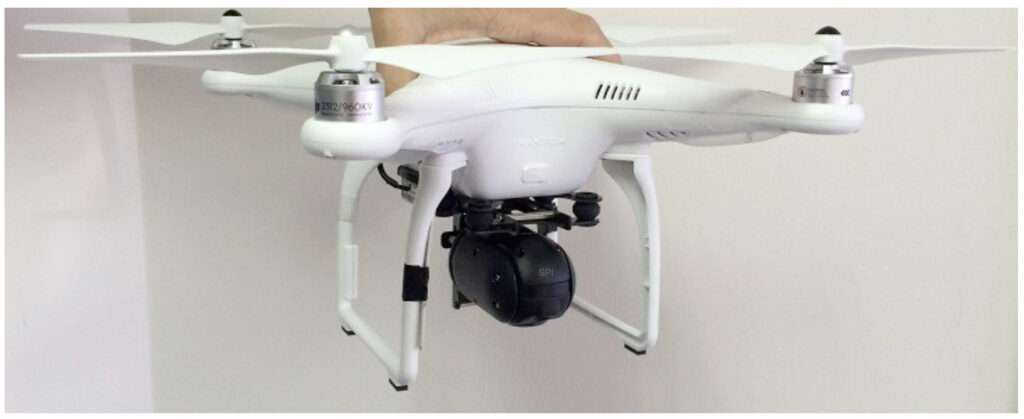
Building a DIY drone is a fun and rewarding project that will not only give you a custom drone, but also a deeper understanding of drone technology. Here is a step-by-step guide on how to build a DIY drone using materials that you can purchase online:
Step 1: Gather the Materials
Firstly, you will need to purchase the following components:
- Frame: You can choose from different types of frames such as tricopter, quadcopter, hexacopter, and octocopter frames, based on your needs and the complexity of your build.
- Motors: Choose brushless motors suitable for the size and weight of your drone.
- Propellers: You’ll need two sets of propellers – clockwise (CW) and counterclockwise (CCW).
- Electronic Speed Controllers (ESC): These are a key component that controls the speed of the motors.
- Flight Controller: This is the brain of your drone. Some popular choices include the Pixhawk and KK2.1.5.
- Battery: A LiPo battery is a common choice for drones because of their high energy density and light weight.
- RC Transmitter and Receiver: These devices will help you control your drone remotely.
Step 2: Assemble the Frame
Once you have all the necessary parts, start with the assembly of the frame. The frame should be robust and light, ensuring the durability and agility of your drone.
Step 3: Install the Motors
After assembling the frame, install the motors. Make sure they’re securely attached to the frame using screws and that they can rotate freely.
Step 4: Attach the Electronic Speed Controllers (ESCs)
The ESCs should be attached to the arms of the frame. They will be connected to the motors, so make sure they’re secure.
Step 5: Install the Flight Controller
The flight controller should be mounted in the middle of the drone frame. This will ensure that it can accurately measure the drone’s position and adjust the motor speeds accordingly.
Step 6: Connect the RC Receiver
The RC receiver should be connected to the flight controller. Make sure to follow the manufacturer’s instructions to correctly pair the transmitter with the receiver.
Step 7: Install the Propellers
Next, install the propellers on the motors. Make sure you have the correct orientation (CW or CCW) for each propeller, depending on the motor.
Step 8: Connect the Battery
Finally, connect the battery to the power distribution board. Ensure all connections are secure and the polarity is correct to prevent any damage.
Step 9: Test Your Drone
Before taking your drone out for its first flight, make sure to test all its functions. Ensure the motors are spinning in the correct direction, the controls are responding as expected, and the drone can maintain balance.
Here are a few online retailers where you can purchase the materials needed to build your DIY drone:
Please remember that safety is paramount when building and flying drones. Always follow manufacturer’s instructions and local regulations when operating drones.
Conclusion
As your drone-building journey comes to a successful conclusion, you may want to consider enhancing its capabilities with a thermal imaging camera. The process of integrating a thermal imaging camera can vary from simple to complex, depending on the specific needs of your project.
At SPI Corp, we offer a wide array of thermal imaging cameras suitable for drone application. From standard and rugged to military-grade thermal cameras, we’re well-equipped to help you choose and integrate the perfect thermal camera that aligns with your project requirements.
Apart from our top-notch product offerings, we pride ourselves on our exceptional customer service and technical support. If you have any questions about your drone build, integrating a thermal camera, or troubleshooting any issues, feel free to reach out to us. Our team of experienced professionals is readily available to assist you at every step of your DIY drone project, ensuring its success.
Visit our websites, www.x20.org, www.x26.com, and www.UAV1.com, for more information on our range of products and services. Contact us for expert guidance on integrating thermal cameras into your DIY drone. We’re here to ensure that your project not only meets but exceeds your expectations.


